

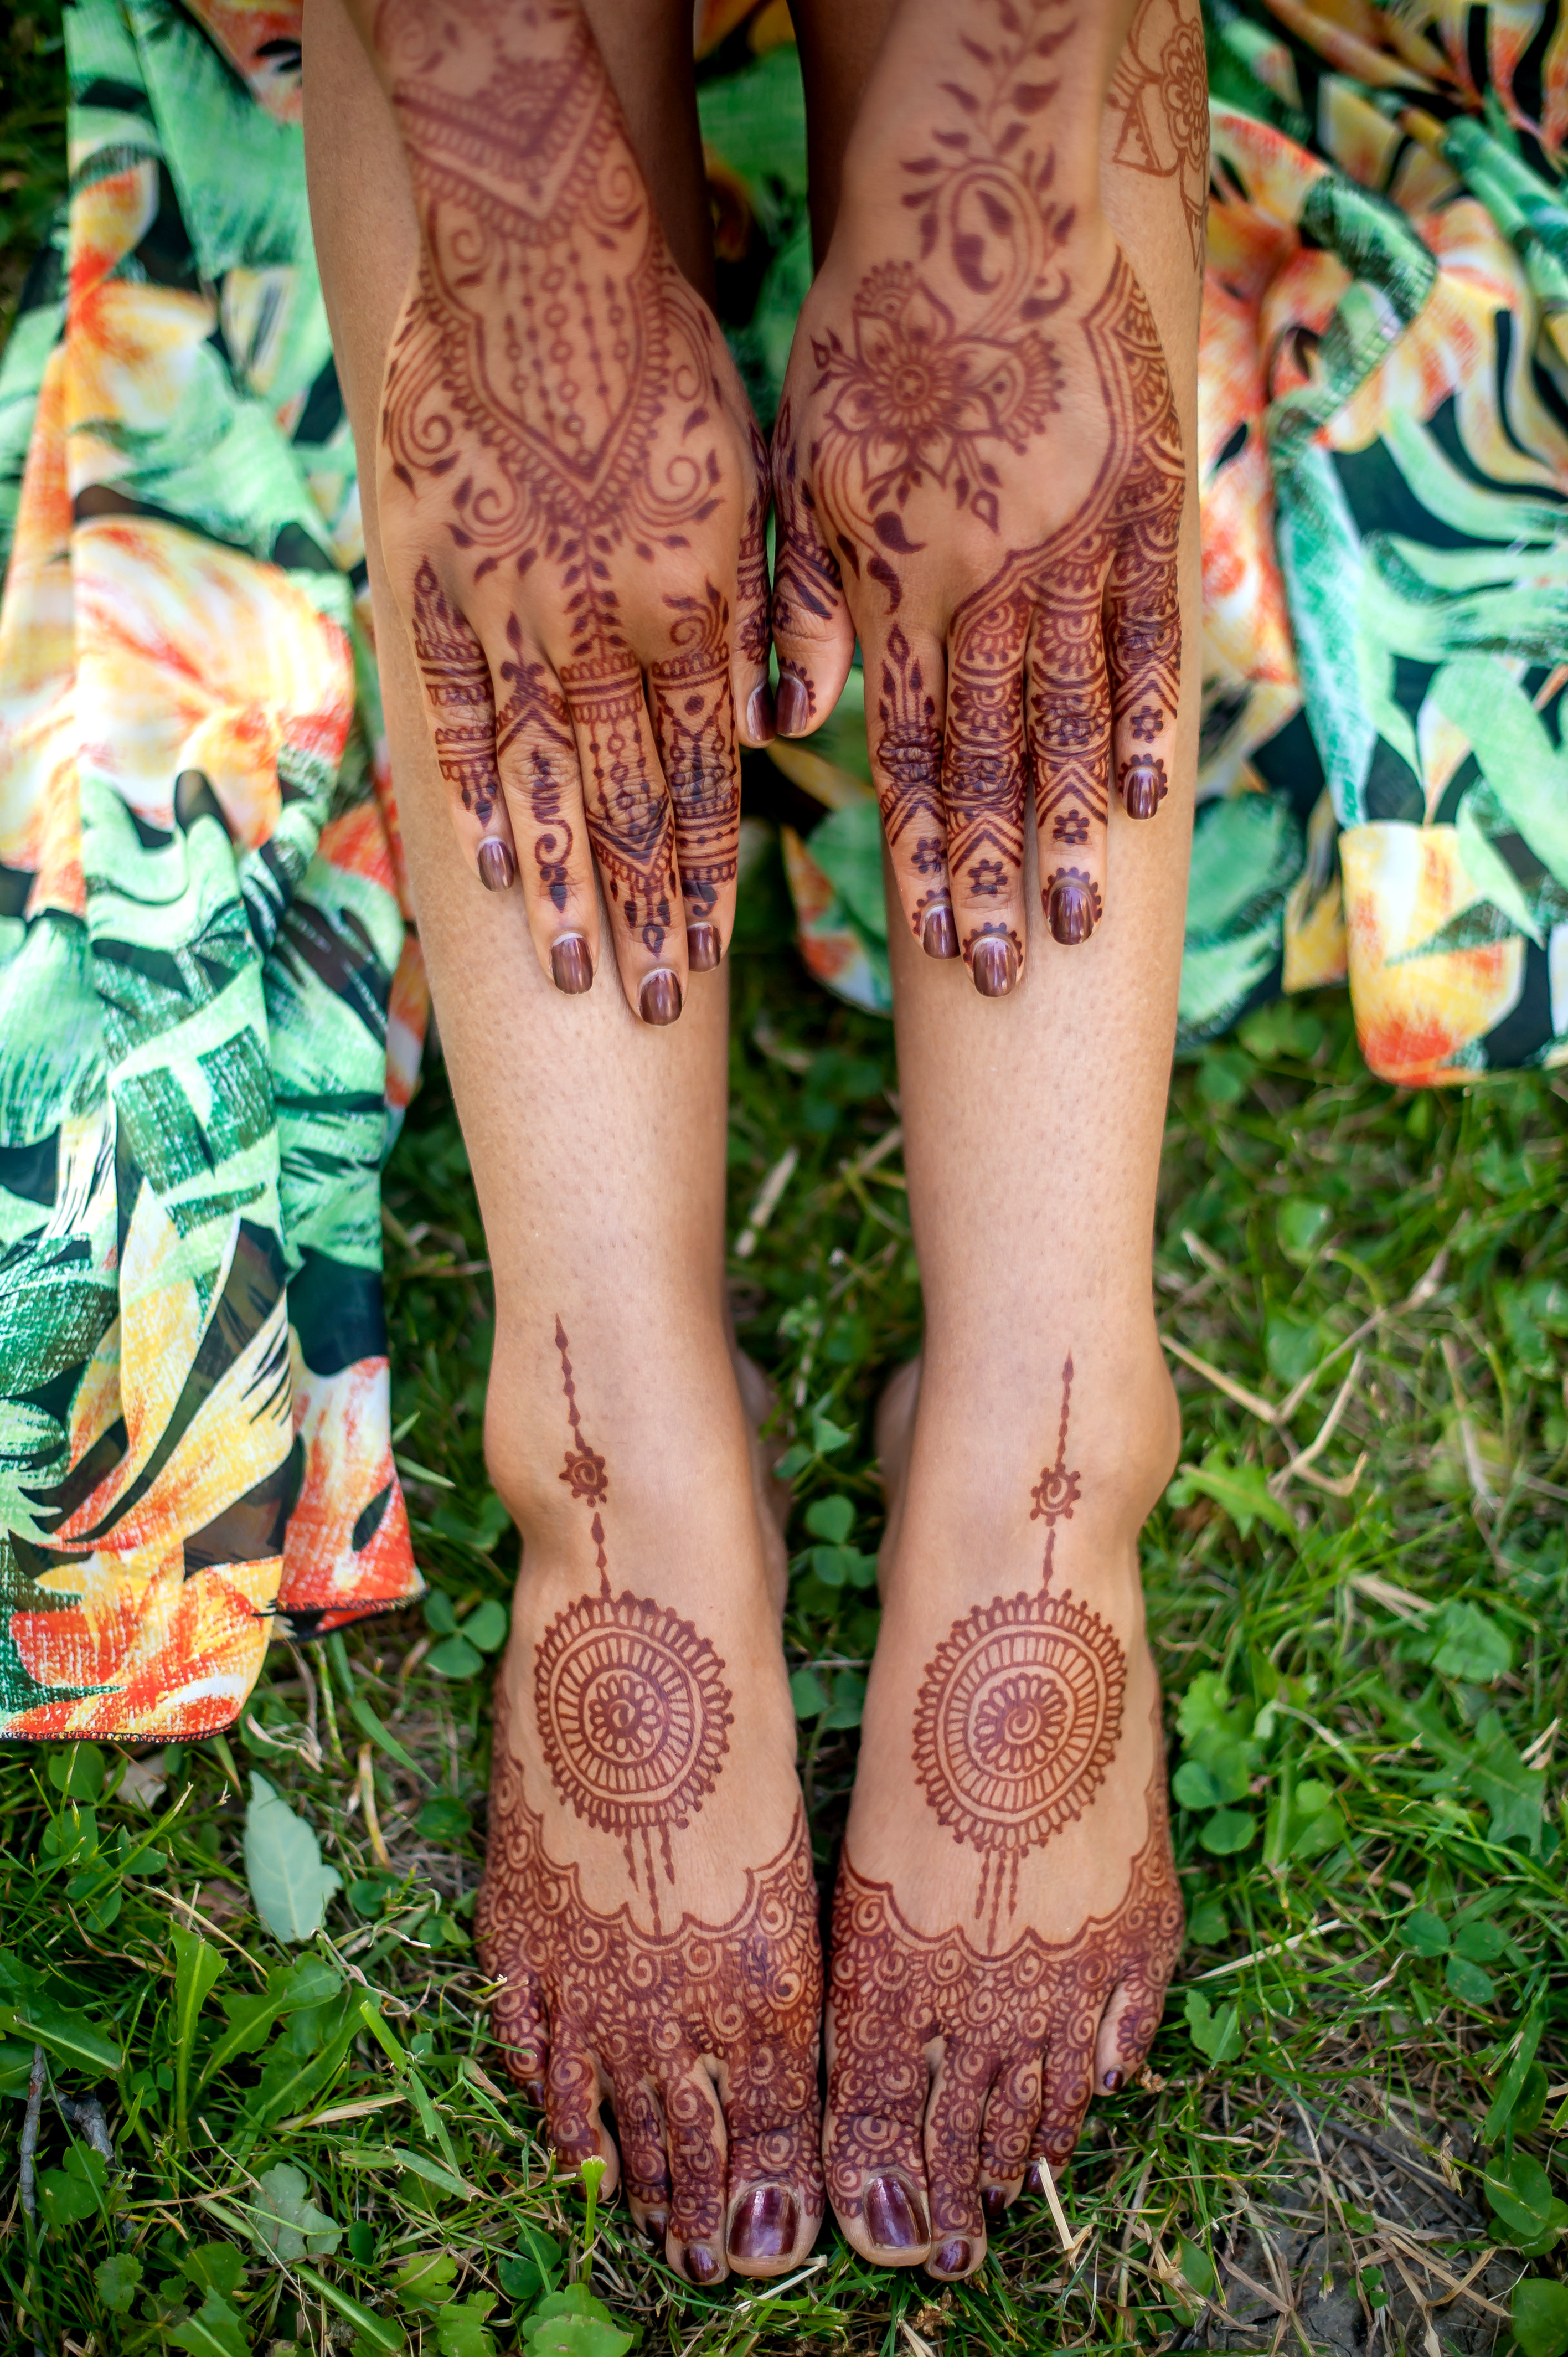
Since 2005, I have been mixing henna for body art by hand and have tried many combinations of powders and ingredients. I love the process of testing out new powders, formulations and playing in the henna “mud”. I now use a KitchenAid stand mixer to mix my henna and jagua body art recipes. I’ll be sharing with you in this blog my absolutely favorite henna recipe and steps I take to get a smooth, creamy and dark staining henna body art recipe for henna tattoos that will last 7-10 days.
Essential ingredients:
- Fresh body art quality henna powder that is finely sifted (please read our article on the times needed for dye release). My current favorite body art quality henna powders are our Red Raj and Supreme Blend.
- Bottled lemon juice, warm water or tea brew. Personally I use 50/50 of distilled water and lemon juice.
- 100% pure essential oils, such as eucalyptus globulus, cajeput, or tea tree or lavender (also known as terps). My personal favorite is our Red Raj Bliss Blend EO.
- Sugar, preferably dextrose or fructose. I currently use fructose or raw sugar. Those on the west coast might enjoy trying molasses for a more “wet” consistency for the dry air there.
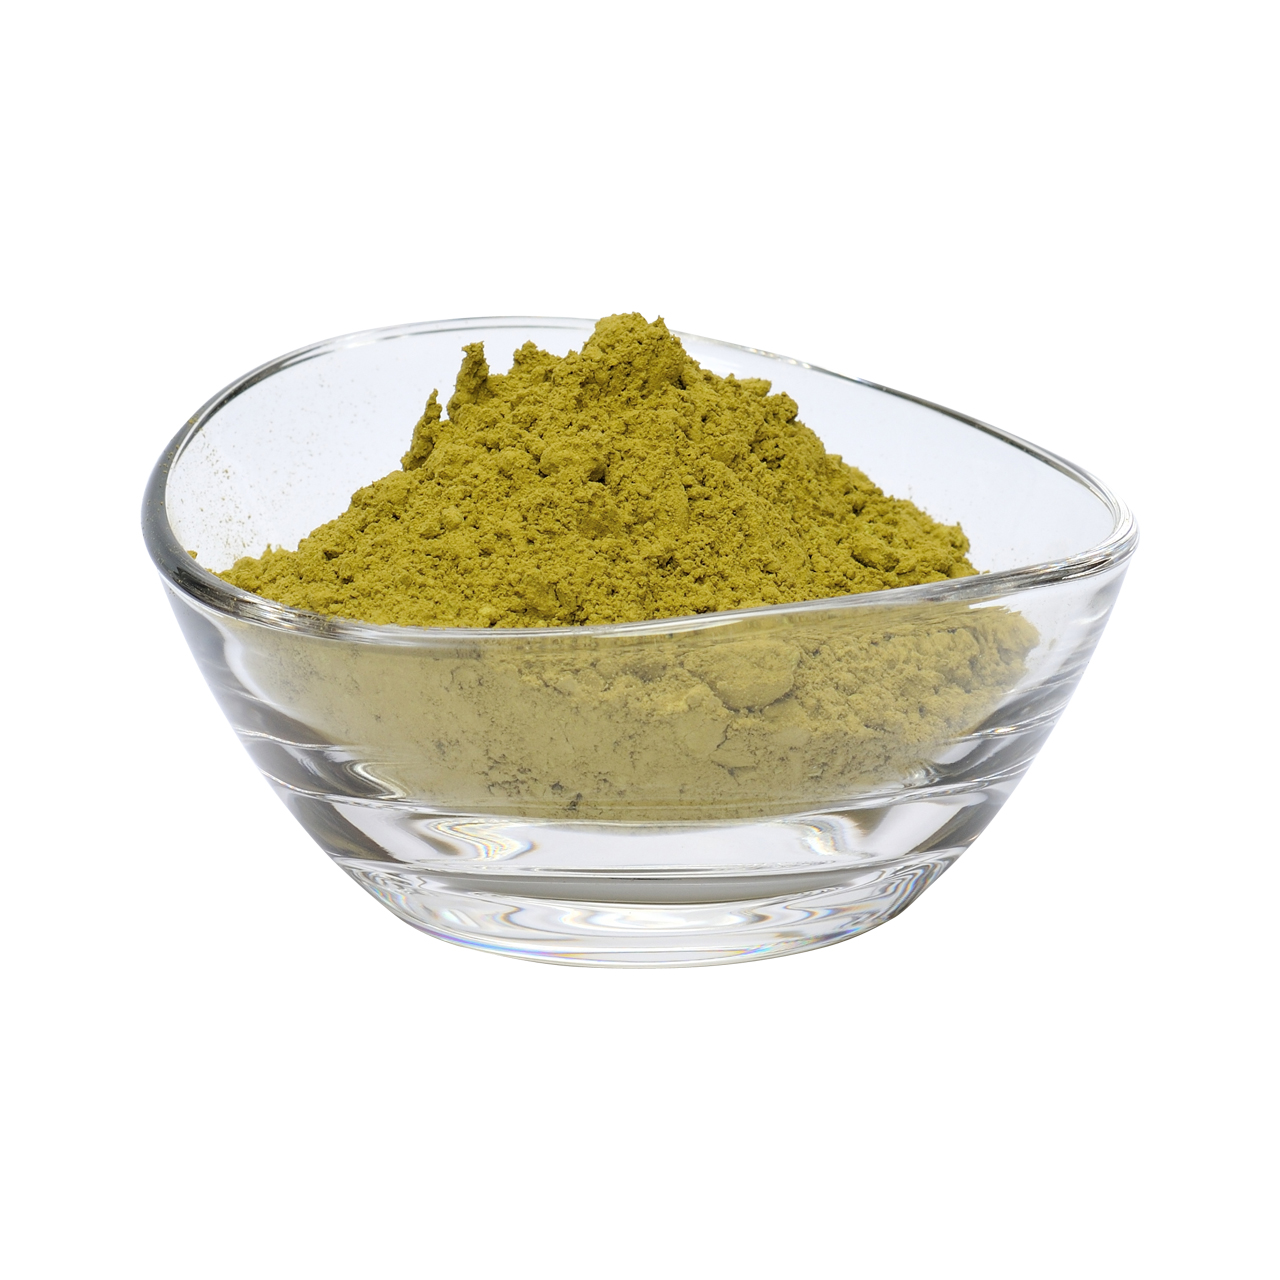
- Measuring the henna powder. Take 2 tbsp of henna powder (about 25 grams of henna) and place it into a glass or stainless steel bowl. Add 1 tsp of sugar of your choice and mix well.
- Adding the lemon juice/water/tea brew. Heat your liquid (about 1/4 cup) on the stove and add it slowly to your henna powder. Mix well until it is the consistency of a thick yoghurt.
- Adding essential oil. Then add 1 tsp of your essential oil. Mix well.
- Too much liquid? If you add too much liquid add a little more henna powder to adjust. You can cover your henna paste and allow to sit for 3-4 hours but I don’t. I mix my henna recipe and sometimes let it sit an hour to rest. I then take the henna paste I’ve made and cone it all up or place into carrot bags for storage. I place cones and carrots bags into the freezer and use when as needed when I’m ready to do so. The frozen paste will thaw naturally at room temperature. I am a true believer that freezing your henna paste for body art (and even for hair use) gives it a really nice boost in color.
- Testing the paste. Should you decide that you want to use your henna paste that same day then after it has sat 3-4 hours you can test the paste out. It might need retesting every hour thereafter if you’re not seeing the recommended results. Test your henna paste by placing a bit of paste onto your palm and let it sit for at least 1 minute. Remove the paste by washing off and if you have a bright pumpkin orange stain that indicates that it’s ready to be used.
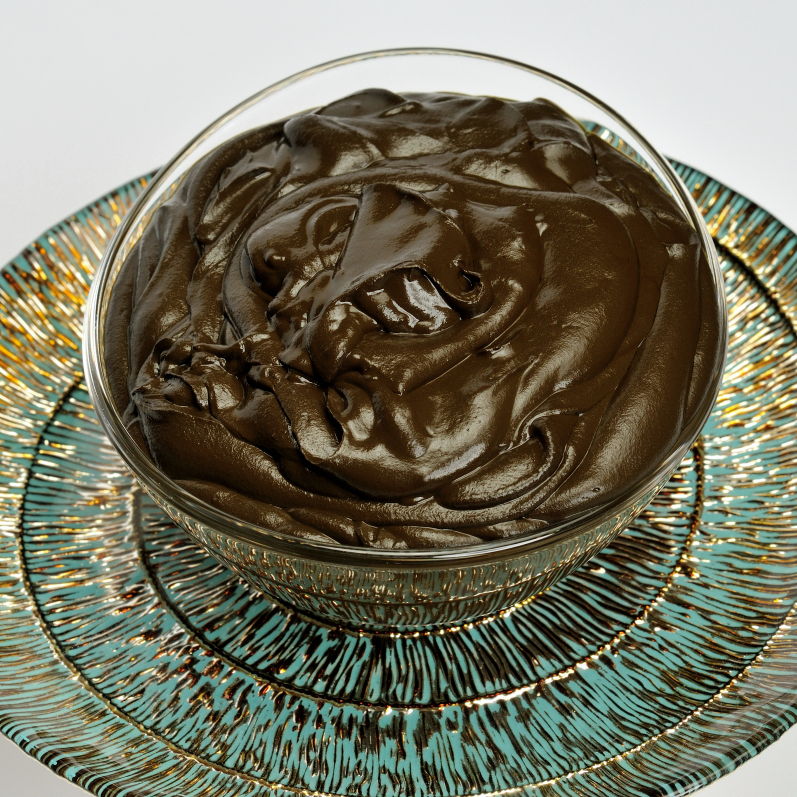
- More liquid? Your henna paste when it’s ready to be used, should be a consistency of thick toothpaste (see below photo). If it’s feeling too thick for you adjust by slowly adding more of your liquid.
Additional Tips:
- Straining your henna paste makes it extra smooth. You can do this by taking a large wide mouthed cup and placing a carrot bag inside. Then place a cheap nylon stocking inside that. Make sure both the carrot bag and nylon stocking fold around the edges of the cup for easier dispensing. Then you will pour the henna paste into the stocking’s opening and pull the stocking through the carrot bag (we do have a video of this method on our YouTube channel). That way, the henna paste is forced to come through the nylon stocking into the carrot bag. It will be extremely smooth and you won’t experience clogs in your fine tips or cones. What is also good about this method is that, once the henna paste is in the carrot bag, you can easily use that to fill all your applicators up or store directly in the freezer for later use. Henna paste can be kept frozen for up to 12 months.
- Always test your henna paste for dye release on yourself. Read our article: How to Test your Henna Paste for Dye Release.
- Please do read our aftercare article on taking care of your henna design to ensure richest and longest lasting body art designs.
Would you like to naturally color your hair?