


Henna Designs for Beginners: Easy Ideas and Products to Start With
Henna is one of those creative traditions that looks detailed from a distance, but becomes much easier to understand when you break it down into simple shapes. Dots, lines, petals, leaves, curves, and small swirls can come together to create beautiful patterns, even if you are just starting.
For beginners, the best approach is to start small. Instead of trying to copy a full bridal-style pattern right away, it helps to practice easy elements on the palm, fingers, wrist, or back of the hand. Simple floral motifs, vines, and minimal hand patterns are often the easiest places to begin because they are flexible and do not need to look perfectly symmetrical to feel beautiful.
In this article, we’ll explore beginner-friendly henna ideas, including simple henna designs for hands, easy floral patterns, palm designs, wrist details, and the basic products that can make your first design easier to apply. Whether you want to practice for fun, prepare for a special occasion, or simply learn how henna designs are created, this beginner's guide will help you start with confidence.
Before we get into beginner-friendly patterns, take a moment to see how henna connects beauty, creativity, and cultural expression through body art.
What Are Henna Designs?
Henna designs are temporary body art patterns created using henna paste, and learning a simple henna body art recipe can help beginners understand how the paste is used before applying decorative lines, shapes, and motifs. Once the paste dries and is removed, it leaves behind a stain that usually appears orange at first and gradually deepens into a richer brown shade over time, a process that depends largely on how well you care for the design afterward.
Most henna designs are made with repeated elements such as dots, lines, curves, flowers, leaves, vines, paisleys, and mandala-inspired shapes. These small details can be arranged into simple or more detailed patterns depending on the style, placement, and skill level.
Seeing a real henna session can make the process feel easier to understand, especially if you are new to how designs are built on the skin.
For someone just starting, beginner henna designs do not need to be complicated. A few clean lines, a small flower, a leafy vine, or a simple pattern across the fingers can still look beautiful. This is why many easy henna designs for beginners focus on small sections of the hand, wrist, palm, or ankle instead of covering a large area right away.
Henna is commonly applied to areas like:
- Hands and fingers
- Palms
- Wrists
- Feet
- Ankles
- Back of the hand
Some styles are bold and open, while others are more detailed and filled in. For example, Arabic henna designs often feature flowing vines, floral shapes, and open spacing, which can make them easier for beginners to practice compared to very dense patterns. Floral henna designs are also popular for beginners because flowers, leaves, and vines can be adjusted easily without needing perfect symmetry.
At its simplest, henna is about building a design step by step. Once you learn how to draw basic shapes with steady pressure, you can combine them into simple henna hand designs, palm patterns, flower henna designs, and more detailed henna tattoo designs as your confidence grows.
Simple Henna Designs That Don’t Require Experience
You do not need advanced drawing skills to create a beautiful henna design. Most beginner-friendly patterns are made by repeating a few basic elements, such as dots, small lines, curves, petals, and leaves. Once you feel comfortable with these shapes, you can combine them into simple designs for the hands, fingers, wrists, or ankles.
A good place to start is with small, open patterns instead of full-hand designs. These are easier to control, quicker to apply, and more forgiving if your lines are not perfectly even.
Some simple henna design ideas for beginners include:
A small flower on the back of the hand
Start with a dot in the center, then draw rounded petals around it. You can add a few leaves or dots around the flower to make it look more complete.
A leafy vine along the finger or wrist
Draw one curved line, then add small leaves on each side. This is one of the easiest ways to practice smooth lines and spacing.
Dots and tiny curves around the fingertips
Simple fingertip details can make even a minimal design look polished. Try small dots, half-circles, or short curved lines.
A basic palm design
Begin with a circle, flower, or mandala-inspired shape in the center of the palm. Add small dots or short lines around it to keep the design balanced.
A simple bracelet-style wrist pattern
Draw one or two lines around the wrist, then decorate them with dots, leaves, or small flowers. This is a great option if you want something subtle and easy to apply.
For your first few attempts, focus on clean spacing rather than filling every area. Simple henna designs often look better when the pattern has room to breathe. Open space makes the design easier to read and helps each detail stand out.
Beginners may also find it helpful to practice on paper before applying henna to the skin. Try drawing the same flower, vine, or dot pattern a few times until your hand feels steady. Over time, these small shapes will become easier, and you can start building more detailed beginner henna designs with confidence.
Easy Henna Design Ideas for Hands, Feet, Wrists, and Ankles
Once you understand the basics, the next step is choosing where to place your first design, and browsing a few easy henna tattoo designs can help you picture what feels realistic for your skill level.
Some areas are easier than others, especially when you are still learning how to control the henna cone. Hands, wrists, feet, and ankles are popular because they give you enough space to practice simple lines, flowers, dots, and vines without needing a large, detailed pattern.
The key is to start with small designs that match the shape of the area you are decorating. A palm design can be centered and circular, finger designs can be narrow and delicate, and ankle designs can follow a bracelet-like shape.
Easy Henna Designs for the Palm
The palm is one of the easiest areas to begin with because it gives you a flat surface and enough space to build a balanced pattern. For beginners, a simple palm design henna can start with one main shape in the center.
Try these easy ideas:
- A small flower in the middle of the palm
- A circle with dots around it
- A simple mandala-inspired pattern
- A leafy vine starting from the center and moving toward the wrist
- A sun-like shape made with short lines and dots
Keep the design open and light. You do not need to fill the whole palm. A small center pattern with a few details around it can look clean, elegant, and beginner-friendly.
Simple Henna Designs for Fingers
Finger designs are great for practicing control because they use short lines and small details. They also pair well with simple henna designs for hands, especially when you want a minimal look.
Beginner-friendly finger ideas include:
- Tiny dots along the finger joints
- Small leaves running down one side of a finger
- Fine lines across the fingers like rings
- Half flowers near the fingertips
- Small curved strokes around the nails
For a cleaner result, choose one or two fingers to decorate instead of doing every finger at once. This keeps the design simple and helps you focus on neat spacing.
Beginner Henna Designs for the Back of the Hand
The back of the hand is a popular area for henna because designs here are easy to see and can be as simple or detailed as you like. For beginners, it is best to start with one main element and build around it slowly.
Simple henna hand designs for the back of the hand can include:
- One flower near the center of the hand
- A vine running from the wrist toward the middle finger
- A small floral cluster with leaves
- A bracelet-style line at the wrist with a small design extending upward
- A few dots and curved lines around the knuckles
Floral patterns work especially well here because they do not need to be perfectly even. A simple flower, a few leaves, and soft, curved lines can create a beautiful design without feeling complicated.
Easy Henna Designs for Feet
Feet offer more space for slightly larger beginner patterns, but it is still best to keep the design simple when you are just starting. The top of the foot is usually easier to decorate than the sides because it gives you a flatter surface.
Easy henna designs for feet may include:
- A small flower near the center of the foot
- A vine that follows the natural curve of the foot
- Simple dots around the toes
- A leafy pattern moving from the ankle toward the toes
- A minimal floral design near the side of the foot
When working on feet, avoid making the design too crowded. Open patterns with flowers, leaves, and dots often look cleaner and are easier to apply.
Simple Henna Designs for Wrists
Wrist designs are ideal for beginners because they can be small, stylish, and easy to build. A bracelet-style design is one of the simplest options. You can start with one or two curved lines around the wrist, then add small details.
Try these simple wrist ideas:
- A thin bracelet pattern with dots
- A small flower on the inner wrist
- A leafy vine wrapping lightly around the wrist
- A chain-like design made with circles and lines
- A minimal floral band
Wrist designs are also a good way to practice repeated patterns. Since the area is smaller, you can focus on making each dot, line, and curve look neat.
If you want to start small, a quick five-minute design is a great way to practice placement, spacing, and cone control without covering the full hand.
Beginner Henna Designs for Ankles
Ankle designs are similar to wrist designs because they work well with bands, vines, and small floral details. They are a good choice if you want a subtle design that does not require too much detail.
Beginner henna designs for ankles can include:
- A simple anklet-style band
- A small flower near the ankle bone
- A vine wrapping halfway around the ankle
- Dots and leaves along a curved line
- A tiny floral trail moving toward the foot
For your first ankle design, keep the pattern light and easy to follow. A single curved line with leaves or dots can look beautiful without needing advanced technique.
Overall, the easiest henna designs for beginners are the ones that use simple shapes and follow the natural curves of the body. Start with one small area, practice slowly, and build your design piece by piece. As your hand becomes steadier, you can move from simple, easy henna designs to more detailed floral, palm, and hand patterns.


What Products Do You Need to Start Henna?
You do not need many products to begin practicing henna. A few basic tools are enough to help you create clean lines, simple flowers, leafy vines, dots, and beginner-friendly hand designs. The right setup mainly depends on whether you want to use ready-made henna or mix your own paste.Ready-to-Use Henna Cones
Ready-to-use henna cones are one of the easiest options for beginners. The paste is already prepared and packed into an applicator cone, so you can focus on learning how to draw instead of worrying about mixing.They are useful for practicing:
- Small flowers
- Dots and lines
- Simple finger patterns
- Palm designs
- Wrist and ankle details
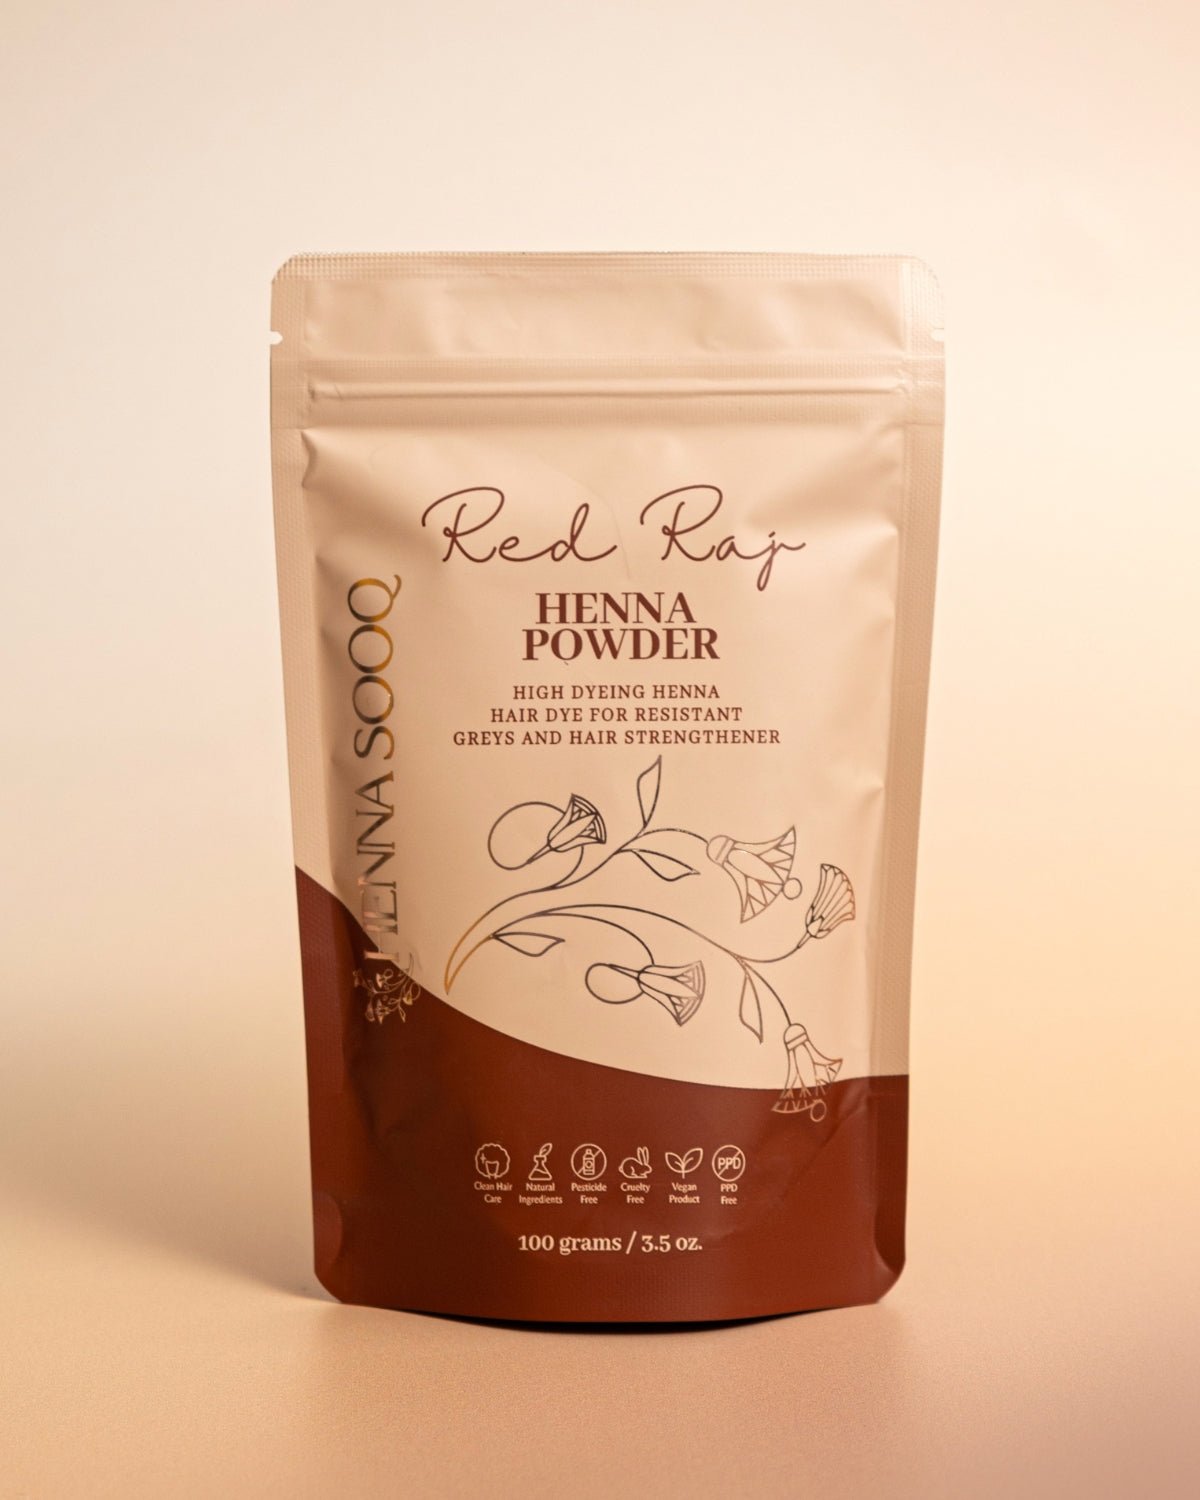
Henna Powder
Henna powder is used to make a paste from scratch. This option gives you more control over the texture of the paste, but it also requires more preparation.To use henna powder, it is usually mixed with liquid and other paste ingredients, then left to rest for dye release before application. This may be better once you feel more comfortable and want to practice more often.
Henna Paste Mixing Supplies
If you plan to mix your own henna, you may need a few simple supplies, such as:- A mixing bowl
- A spoon or spatula
- Measuring tools
- Plastic wrap or a cover for resting the paste


Acrylic Practice Board Henna Tattoos
Reusable acrylic practice board for perfecting smooth, stunning henna designs.
Shop NowApplicator Cones or Bottles
If you mix your own paste, you will need a tool to apply it. Henna cones are commonly used because they allow you to create thin lines, dots, curves, leaves, and petals with controlled pressure.
Applicator bottles can also be used, depending on your preference. Some beginners like bottles because they feel easier to hold, while others prefer cones for more flexible line work.
Essential Oils for Henna Paste
Some henna paste recipes include essential oils that are suitable for body art henna. These are typically used when mixing powder. They are not usually necessary if you are using a ready-to-use cone.
Always use oils that are intended for henna body art and follow safe usage instructions. This guide to essential oils for body art covers which ones are commonly used and why they matter in a henna paste recipe.
Aftercare Supplies
Aftercare helps the stain develop properly once the paste has been applied. Basic aftercare supplies may include:
- Hypafix tape to help protect the dried paste
- Cotton balls or tissues for gentle cleanup
- A natural balm or oil for moisturizing after paste removal
- Lemon-sugar sealant, if recommended with the henna product you are using
The main goal is to let the paste stay on the skin long enough, avoid smudging, and protect the design while the stain develops.
Practice Materials
Before applying henna directly to your skin, practice on paper or a reusable practice board. This helps you get comfortable with pressure, spacing, and movement.
Start by practicing:
- Straight lines
- Curved lines
- Dots
- Leaves
- Petals
- Small flowers
- Simple vines
Once these shapes feel easier, you can combine them into beginner henna designs for hands, wrists, feet, or ankles.
A Simple Beginner Henna Setup
For a first practice session, you can keep your setup very simple:
- One ready-to-use henna cone
- Paper or a practice board
- Tissues or cotton swabs for cleanup
- Aftercare supplies
- A comfortable surface to rest your hand
You can always add more products later if you decide to mix your own paste or create more detailed designs. For beginners, the most important thing is to start with tools that make the process easy, clean, and comfortable.
Floral Henna Designs for Beginners
Floral patterns are some of the easiest henna designs to practice because they are flexible, soft, and forgiving. A flower does not have to be perfectly even to look beautiful, and small differences in petal size can make the design feel more natural.
For beginners, floral henna designs are a great way to practice the basics: curved lines, dots, petals, leaves, and spacing. You can keep the design very simple with one small flower, or build it out slowly with vines and leaves as you become more comfortable.
Simple Flower Henna Designs
A simple flower is one of the best starting points for beginner henna designs. Begin with a small dot or circle in the center, then add petals around it. The petals can be round, pointed, teardrop-shaped, or slightly curved.
Easy flower ideas to try:
- A five-petal flower on the back of the hand
- A small flower near the wrist
- A half-flower along the side of the palm
- Tiny flowers placed near the fingers
- A center flower with dots around it
To keep the design clean, leave a little space between each petal. You can also add dots around the flower to make it look more complete without adding too much detail.
Practicing on a hand form or practice surface can help you build confidence before applying henna directly to your skin.
Easy Vine and Leaf Henna Designs
Vines and leaves are beginner-friendly because they follow one simple rule: start with a curved line, then add small leaves along the sides. This makes the design look graceful without requiring a lot of complicated detail.
A basic vine can be used on the fingers, wrist, palm, ankle, or back of the hand. You can draw the vine in a straight line, curve it around the wrist like a bracelet, or let it flow from one flower to another.
Simple vine and leaf ideas include:
- A single vine running down one finger
- A curved leafy line across the back of the hand
- A wrist vine with small leaves and dots
- A vine connecting two small flowers
- A light, leafy trail along the ankle or foot
For a natural look, vary the leaf size slightly and keep the spacing even. Small dots between leaves can also help fill empty areas while keeping the design simple.
Henna Floral Design Ideas for Hands
The hands are one of the most popular places for floral henna because flowers, vines, and leaves fit naturally across the palm, fingers, and back of the hand. For beginners, it is best to choose one main floral element and build around it slowly.
Here are a few easy floral henna ideas for hands:
- Small palm flower: Place one flower in the center of the palm and add dots or short lines around it.
- Back-of-hand floral trail: Draw a flower near the wrist, then extend a vine toward the middle finger.
- Finger flower detail: Add a tiny flower near the base of one finger with a few leaves around it.
- Side-hand floral design: Place half-flowers along the side of the hand for a soft, minimal look.
- Wrist floral band: Create a bracelet-style design with small flowers, leaves, and dots.
Floral designs are a good choice when you want something simple but still decorative. Start with one flower, add a few leaves, and use dots to balance the empty spaces. As your lines become steadier, you can combine several flower henna designs into a fuller pattern while still keeping the overall look clean and beginner-friendly.
Tips for Making Simple Henna Designs Look Cleaner
Clean henna designs are not always about making the pattern complicated. In fact, simple designs often look better when the lines are smooth, the spacing is clear, and the design has enough open space. If you are a beginner, a few small technique changes can make your henna look much neater.
Start With a Small Design
It is easier to keep your lines clean when you are working on a small area. Instead of covering the full hand right away, begin with a simple flower, a short vine, a finger pattern, or a small wrist design.
Starting small helps you focus on:
- Line control
- Even spacing
- Steady pressure
- Simple shapes
- Cleaner finishing details
Once you feel comfortable, you can slowly connect smaller patterns into a larger design.
Practice Basic Shapes First
Most beginner henna designs are made from a few repeated shapes. Before applying henna to the skin, practice these on paper:
- Dots
- Straight lines
- Curved lines
- Teardrops
- Petals
- Leaves
- Small circles
- Simple vines
When these basic shapes become easier, your hand designs will naturally look more polished.
Keep Your Hand Steady
A steady hand makes a big difference. Rest your hand or wrist on a flat surface while applying henna. This gives you more control and helps prevent shaky lines.
Try not to hover your hand in the air while drawing. Even a simple henna design can look uneven if your hand is not supported.
Use Light, Even Pressure
Henna lines look cleaner when the paste comes out smoothly. Squeeze the cone gently and keep the pressure consistent. Pressing too hard can create thick, uneven lines, while too little pressure may cause broken lines.
Move slowly, but not so slowly that the paste gathers in one spot. A steady pace usually creates the best result.
Leave Space Between Details
Beginners often try to fill every empty area, but open space can make a design look more elegant. Leaving small gaps between flowers, leaves, dots, and lines helps each detail stand out.
This is especially helpful for simple henna hand designs, palm designs, and floral patterns. Clean spacing can make even a very basic design look intentional.
Wipe the Cone Tip When Needed
If paste builds up at the tip of the cone, it can make your lines messy. Keep a tissue nearby and gently wipe the tip when needed. This helps prevent blobs and keeps your lines more even.
Use Dots to Balance the Design
Dots are one of the easiest ways to make a simple design look finished. You can use them around flowers, along vines, near fingertips, or around a palm design.
Just be careful not to add too many. A few well-placed dots can fill empty areas without making the design look crowded.
Let the Design Dry Without Touching It
Once the henna is applied, avoid touching or rubbing the design while it dries. Smudging usually happens when the paste is still wet, so give it time to set before moving around too much.
Follow the aftercare instructions for the henna product you are using, especially if your goal is to care for your henna body art design for darker-looking results. Proper drying and aftercare can help the final stain look cleaner and more even.
Do Not Worry About Perfection
Henna is handmade, so small differences are normal. A petal may be slightly larger, a line may curve differently, or a dot may not be perfectly placed. That does not mean the design is ruined.
The goal is to build confidence and improve with practice. Start with simple, easy henna designs, repeat the same shapes often, and your lines will become cleaner over time.


Make Your First Henna Design Easier With the Right Tools
Your first henna design does not have to be perfect, but using the right tools can make the process feel much easier. If you are practicing simple flowers, leafy vines, palm details, or beginner hand designs, starting with quality henna body art supplies from Henna Sooq can help you focus on steady lines, clean shapes, and a smoother application experience. The right cone, paste, or beginner-friendly henna product can make a big difference when you are still learning how much pressure to use and how to move your hand with control.
Ready to try your first design? Explore Henna Sooq for henna products and tools that can support your practice, whether you are creating a small wrist design, a simple palm pattern, or your first floral henna look. Start with one easy design, take your time, and let each line build your confidence. Shop henna essentials today and make your first henna experience feel simple, creative, and enjoyable.
Frequently Asked Questions About Easy Henna Designs for Beginners
How to draw henna designs?
Start by practicing basic shapes first: dots, straight lines, curved lines, petals, leaves, circles, and vines. Most henna designs are built by repeating these simple elements and connecting them into a pattern.
For beginners, it helps to sketch the design on paper before applying henna to the skin. Start with a small flower, a leafy vine, or a simple palm design. Once your hand feels steady, you can move on to more detailed henna hand designs.
Do henna designs have meanings?
Some henna designs can have cultural, traditional, or symbolic meanings depending on the region, occasion, and design style. For example, floral patterns, vines, and circular shapes are commonly used in many henna traditions.
That said, not every modern henna design is created with a specific meaning. Many people choose simple henna designs because they like the look, placement, or artistic style.
How much do henna designs cost?
The cost of henna designs can vary depending on the artist, location, size of the design, level of detail, and whether it is for a casual appointment, event, or special occasion.
Small, simple designs usually cost less than detailed full-hand or bridal-style designs. For the most accurate price, it is best to check with the henna artist or brand offering the service.
How to practice henna designs?
Practice on paper, a practice sheet, or a reusable practice board before applying henna to your skin. Begin with simple strokes like dots, lines, curves, petals, and leaves.
Once you feel comfortable, try combining those shapes into easy beginner simple henna designs, such as a small flower, a wrist vine, a finger pattern, or a basic palm design. Repeating the same shapes often is one of the best ways to improve line control.
What is the difference between Arabic henna designs and simple henna designs?
Arabic henna designs often feature flowing patterns, floral details, vines, leaves, and open spacing. They usually have a graceful, less crowded look compared to very dense traditional designs.
Simple henna designs are usually smaller, easier, and less detailed. They may include basic flowers, dots, lines, and vines. Some Arabic henna designs can also be beginner-friendly because the open spacing gives beginners more room to work.
Are floral henna designs beginner-friendly?
Yes, floral henna designs are beginner-friendly because flowers, leaves, and vines are easy to build from simple shapes. A basic flower can start with one center dot and a few petals around it.
Floral designs are also forgiving. The petals do not need to be perfectly identical, and small differences can still look natural and beautiful.
How do I start practicing simple henna designs?
Start with one small design instead of trying to cover the whole hand. A small flower, a leafy vine, a few fingertip details, or a simple wrist pattern is a good place to begin.
Focus on clean lines, even pressure, and spacing. As you improve, you can connect small elements to create more complete beginner henna designs for hands, palms, wrists, feet, or ankles.
How do I make my henna lines look cleaner?
Use steady, even pressure and move your hand slowly while applying the paste. Rest your hand on a flat surface so it does not shake while you draw.
It also helps to wipe the cone tip if paste builds up, leave enough space between details, and practice basic strokes before starting the full design. Cleaner lines usually come with repetition and patience.
Where is the easiest place to apply henna as a beginner?
The palm is often one of the easiest places to start because it is flat and gives you enough space to practice. The back of the hand and wrist are also good beginner-friendly areas.
Fingers, feet, and ankles can be beautiful places for henna, but they may require a little more control because the space is smaller or more curved. For your first attempt, start with a simple palm, wrist, or back-of-hand design.


