




Henna Root Touch-Up Guide for Grey Hair and New Growth
Root touch-ups are all about maintenance. When your existing henna color still looks good, but new growth is starting to show, you may only need to refresh the roots instead of applying color through your full length again.
A henna root touch-up focuses the application where fresh growth is most visible, helping you maintain your color without unnecessarily reworking the rest of your hair. This can make your regular color routine feel more targeted, especially if you already know the henna shade or henna and indigo method that works for you.
Getting an even root touch-up henna application comes down to a few important details, including preparing the hair properly, sectioning carefully, fully coating the new growth, and choosing the right color method for the result you want.
Whether you are maintaining red, copper, brown, or darker tones, learning how to approach henna hair color root touch-up can help you keep new growth looking more consistent with the rest of your color.
In this article, we’ll walk through how to prepare for a henna root touch-up, apply henna to new growth step by step, determine how long to leave it on, understand when indigo may fit into your routine, and avoid common mistakes that can lead to uneven root color.
What to Know Before Touching Up Grey Roots With Henna
Before doing a henna root touch-up, it helps to look at your current color, your new growth, and the result you want to maintain. Root touch-ups work best when you are refreshing an existing henna color rather than trying to completely change the shade of your hair.
The first thing to consider is whether you are using henna alone or a henna and indigo method. Henna on its own creates warm copper to red tones, while indigo may be added when maintaining brown, dark brown, or black shades. Using the same color method that was used on your lengths can help keep your henna hair color root touch-up more consistent with the rest of your hair.
It is also important to focus the application on the new growth. If the rest of your color still looks good, there is usually no need to apply henna through the full length repeatedly. A targeted root touch-up henna application keeps the process focused on the area that actually needs refreshing.
Before you begin:
- Check how much new growth you have.
- Identify the shade you are trying to maintain.
- Use the same henna or henna and indigo method that already works for your hair.
- Make sure your roots are clean and free from heavy product buildup.
- Section your hair so the new growth is easy to reach.
- Prepare enough paste to fully coat the root area without spreading it unnecessarily through the lengths.
A natural root touch-up can be simple once you have a consistent method. The goal is not to start over each time, but to maintain your existing color by focusing on fresh growth and applying your henna mixture as evenly as possible.
How Henna Works on Grey Roots and New Growth
During a henna root touch-up, the focus is on the fresh hair that has grown in since your last color application. Because this new growth has not been previously colored with henna, it can look noticeably different from the rest of your hair until the roots are refreshed.
Henna deposits warm copper to red tones onto the hair. The final result depends on your starting color, so lighter new growth can appear brighter than darker areas. A henna hair color chart can help explain how starting shade influences the final tone.
This is why a henna hair color root touch-up should be approached as maintenance rather than as a completely new color application.
For deeper brown or black results, henna may be used together with indigo. The method you choose should match the color already on your lengths so the refreshed roots blend more naturally with the rest of your hair.
A few things can affect how your root color turns out:
- your natural starting shade
- the amount of new growth
- whether you use henna alone or henna with indigo
- how thoroughly the roots are coated
- how long the paste remains on the hair
- how consistently you follow the same color method from one touch-up to the next
The goal of a root touch-up henna application is to give the new growth the color it needs without repeatedly applying henna over hair that is already at the shade you want. Keeping the application focused on the roots can also make your maintenance routine more consistent and easier to manage over time.
If some areas of your new growth are lighter or more resistant than others, they may need extra attention during application. Fully coating each section and working carefully around the hairline, temples, and part can help create more even henna root coverage.
How to Prepare Your Hair for a Root Touch-Up
Good prep can make a big difference in how smoothly a henna root touch-up goes. Before applying color, you want the new growth to be clean, easy to section, and free from anything that could get in the way of an even application.
Start with clean hair and roots. Heavy oils, butters, styling creams, or buildup can make it harder to thoroughly coat the new growth, so avoid loading the hair with products right before your natural root touch-up. If you are also preparing your henna from scratch, this guide to mixing henna for hair dye can help you get the paste ready before application.
Once the hair is clean, gently detangle and divide it into manageable sections. Smaller sections make it easier to see exactly where the new growth begins and help you apply the henna paste more precisely without spreading it unnecessarily onto previously colored lengths.
Before you start applying your root touch-up henna, it can also help to:
- gather your henna mixture, gloves, clips, applicator tools, and coverings ahead of time
- separate the hair into sections that are easy to work through
- identify the areas where new growth is most visible
- keep previously colored lengths out of the way as much as possible
- prepare enough paste to fully coat the roots without making more than you need
Pay extra attention around the hairline, temples, and part, where new growth can be easier to see and sometimes harder to coat thoroughly. Working in small sections helps you get the paste close to the scalp and fully surround the new growth.
The goal of your henna hair color root touch-up prep is simple: create a clean, organized starting point so you can focus on even coverage once application begins. The more clearly you can see and separate the new growth, the easier it is to keep your touch-up targeted and consistent.



How to Apply Henna to Grey Roots Step by Step
Once your hair is prepped and sectioned, you can begin your henna root touch-up. The main goal is to coat the new growth thoroughly while keeping the application focused on the roots.Step 1: Work in Small Sections
Start with one section at a time so you can clearly see where the new growth begins. Smaller sections make it easier to apply the paste evenly and avoid missing areas close to the scalp.Step 2: Apply Henna Directly to the Roots
Using your preferred applicator, place the henna paste onto the new growth and spread it through the root area. Make sure each section is fully coated rather than lightly covered on the surface.For a more precise root touch-up henna application, focus on the fresh growth instead of pulling the paste through hair that is already colored.
Step 3: Pay Extra Attention to Visible Areas
Work carefully around the part, temples, and hairline, where new growth tends to stand out the most. These areas can also be easier to miss, so take your time and make sure the paste reaches every strand you want to refresh.Step 4: Continue Section by Section
Move through the rest of your hair using the same method. Keep the sections manageable and check your work as you go so your henna root coverage stays as even as possible.Step 5: Keep the Roots Covered
Once the application is complete, gather the hair carefully and cover it according to your usual henna coloring method. Keeping the paste in place helps prevent it from drying out too quickly while it processes.Step 6: Rinse Thoroughly
After the appropriate processing time, rinse the henna from your roots thoroughly. Work gently and make sure all of the paste has been removed before moving on with the rest of your hair care routine.A successful henna hair color root touch-up comes down to coverage and consistency. Taking your time with small sections and fully coating the new growth can make it much easier to maintain your color without reapplying henna through the entire length.


How Long to Leave Henna on Your Roots
For a full-color henna root touch-up, henna is generally left on the hair for about 3 to 4 hours. This gives the henna time to deposit color onto the new growth before it is rinsed out.
The exact processing time can depend on the henna powder you are using, so it is important to follow the directions for that specific product.
Different henna varieties can also have different dye-release times before application, which is separate from how long the paste stays on your roots. Learning more about henna dye-release timing can make it easier to separate mixing time from processing time.
For a more consistent henna hair color root touch-up:
- fully coat the new growth before starting your processing time
- keep the applied roots covered while the henna processes
- follow the timing recommended for your specific henna
- rinse thoroughly once the processing time is complete
- avoid judging the final tone immediately, since henna color can continue to settle after rinsing
Root maintenance does not always need to happen on the same schedule as a full-head color treatment. Full henna coloring treatments are often spaced several weeks apart, with root touch-ups as needed in between when new growth becomes noticeable.
Once you find a timing and application method that gives you the result you like, keep notes on it. Using a consistent mix, dye-release time, processing time, and application method can make future root touch-up henna sessions easier to repea
When to Use Henna and Indigo for Root Coverage
Henna on its own creates warm copper to red tones, so it may be enough for a henna root touch-up if those are the shades you are maintaining. If your existing color is brown, dark brown, or black, indigo may need to be part of your root touch-up method. Understanding how indigo powder works for hair can also help clarify when henna alone is not enough for the shade you are maintaining.
The key is matching the method you already use on the rest of your hair. For deeper shades, henna and indigo can be used together or in a two-step process, depending on the result you want and the method that has worked for you before.
For a natural root touch-up, consider henna and indigo when:
- your existing hair color is brown, dark brown, or black
- henna alone would leave the new growth too warm or too red
- you are maintaining a previous henna and indigo color result
- your new growth needs a deeper tone to blend with the rest of your hair
For darker results, a two-step method is commonly used. Henna is applied first, rinsed out, and followed with indigo on the areas that need deeper color. This can be especially helpful when trying to maintain darker root color more consistently.
This guide to mixing indigo for brown to black hair gives more detail on how indigo fits into deeper color results.
If your current lengths already have the shade you want, keep the application focused on the new growth rather than pulling the mixture through the rest of your hair. This keeps the henna hair color root touch-up targeted and helps avoid repeatedly layering color over previously treated areas.
Whichever method you use, consistency matters. Following the same henna and indigo approach from one touch-up to the next can make it easier to maintain a more even result as your roots grow in.
Common Henna Root Touch-Up Mistakes to Avoid
A henna root touch-up can be pretty straightforward once you have a routine, but a few small mistakes can lead to uneven color, missed new growth, or more work than necessary.
Applying Henna Beyond the New Growth
If the rest of your hair already has the color you want, there is usually no need to pull henna through the full length every time. Keep your root touch-up henna application focused on the fresh growth so you are only refreshing the areas that need it.
Working With Sections That Are Too Large
Large sections can make it easy to miss strands near the scalp. Smaller sections give you better visibility and make it easier to fully coat the new growth from one area to the next.
Using Too Little Paste
A light layer of henna may not fully surround every strand. Apply enough paste to thoroughly coat the roots rather than simply brushing color across the surface.
Missing the Hairline, Temples, or Part
These are often the most visible areas when new growth appears, so they deserve extra attention during a henna hair color root touch-up. Check these sections carefully before covering the hair and beginning your processing time.
Starting With Heavy Product Buildup
Oils, butters, creams, and styling products can leave residue on the hair. Starting with clean roots makes it easier to apply the paste evenly and see exactly where the new growth needs attention.
Changing Your Color Method Every Time
Switching between different mixes, timing, or henna and indigo methods can make your results harder to predict. Reviewing the common mistakes people make when using henna for hair can help you troubleshoot other factors that may affect consistency.
Once you find a natural root touch-up method that works for your current shade, keeping the process consistent can make future applications easier to manage.
Rushing the Application
Root touch-ups are targeted, but that does not mean they should be rushed. Take time to work through each section and check for missed areas before finishing.
The most reliable henna root coverage comes from careful sectioning, thorough application, and a consistent approach. Keeping the process focused on new growth can help make each touch-up feel simpler and more predictable.

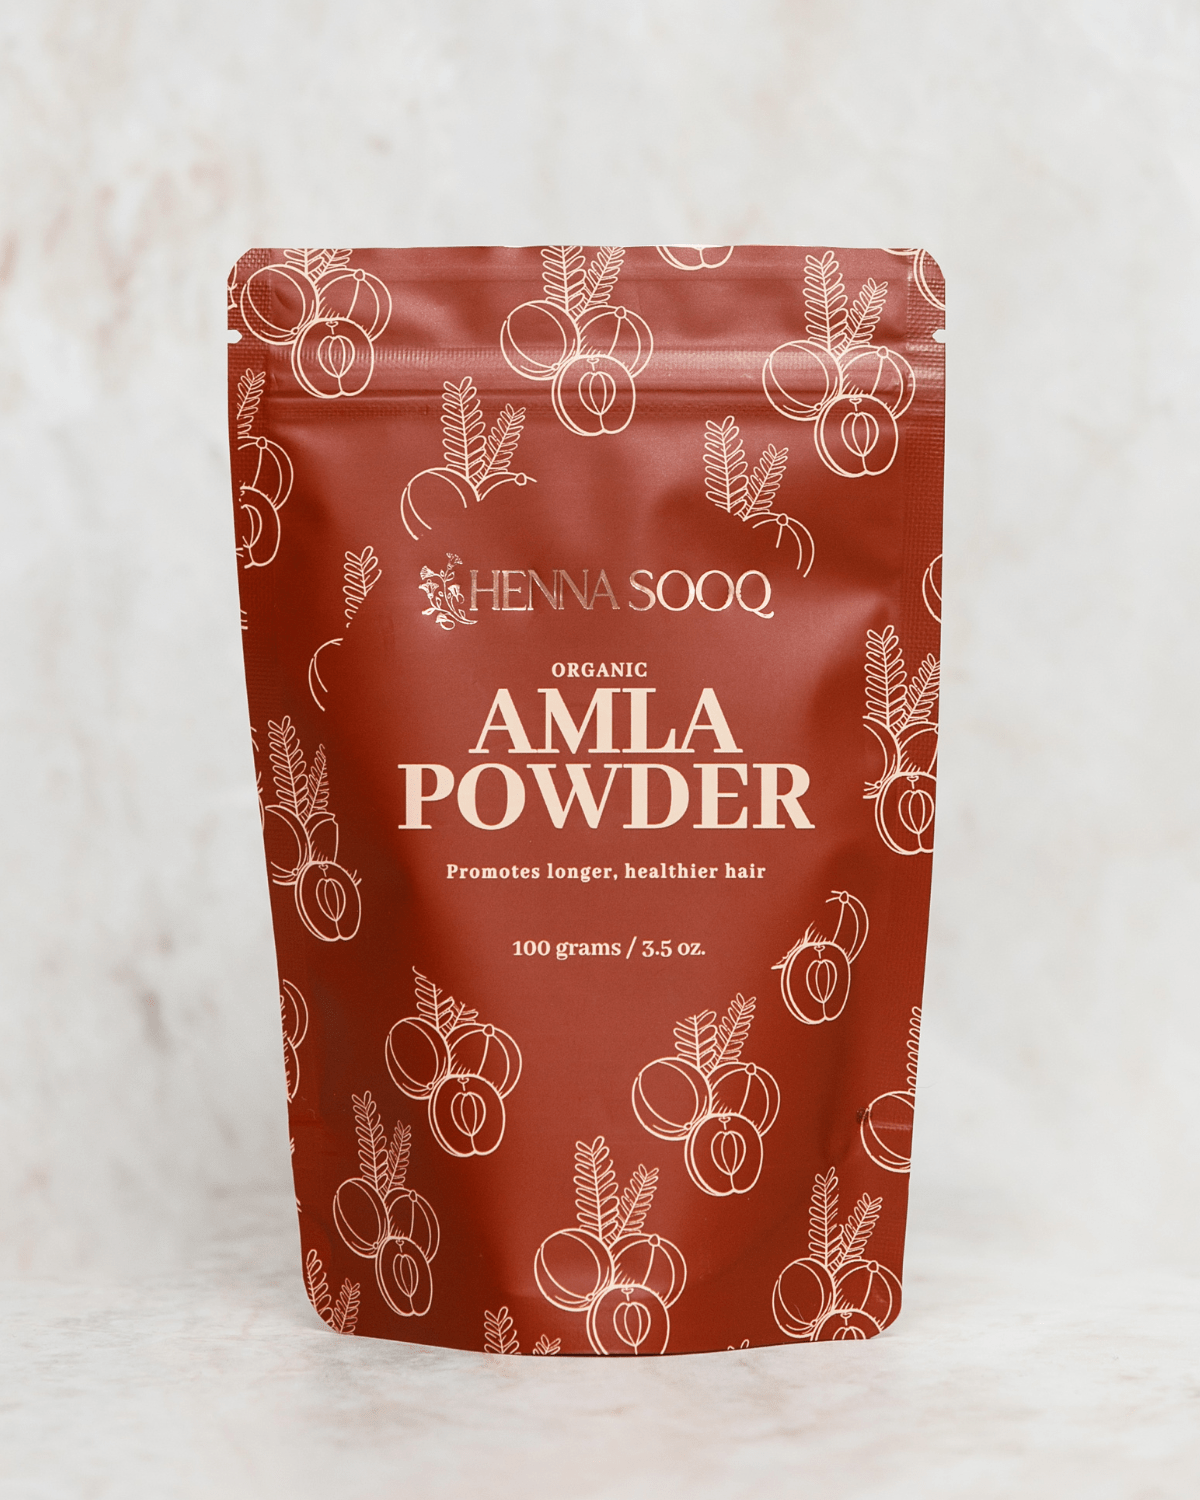

Refresh Your Roots With the Right Henna Essentials
Your next henna root touch-up does not need to feel like a full color day. Keep it focused, keep it simple, and work only where the new growth needs attention.
Choose the henna or henna-and-indigo method that matches your current shade, prep your sections, and make sure you have enough paste and tools ready before you start.
Refresh your roots, maintain your color, and keep your touch-up routine easy to repeat.
FAQs About Henna Root Touch-Ups
Can you apply henna only to your roots?
Yes. If your existing color still looks good, you can apply henna only to the new growth instead of coloring the full length again. A targeted henna root touch-up helps refresh the areas that need color while leaving previously colored hair alone.
How often should you touch up grey roots with henna?
There is no single schedule that works for everyone. How often you do a henna root touch-up for grey hair depends on how quickly your hair grows and how noticeable the new growth becomes.
Many people simply refresh their roots as needed rather than following a strict calendar. Once you know how quickly your own new growth appears, it becomes easier to build a consistent touch-up routine.
Does henna cover stubborn grey roots?
Henna can color resistant roots, but thorough preparation and application matter. Make sure the hair is clean, work in small sections, and fully coat the new growth with enough paste.
If you are trying to maintain brown, dark brown, or black tones, henna may also need to be used with indigo rather than on its own.
Why are my grey roots not taking henna evenly?
Uneven results can happen when some areas are not fully coated, sections are too large, there is product buildup on the hair, or the application is rushed.
During a henna grey hair touch-up, pay extra attention to visible areas such as the hairline, temples, and part. Working in smaller sections can make it easier to fully cover each strand.
Can henna and indigo be used only on the roots?
Yes. If your lengths already have the shade you want, henna and indigo can be focused on the new growth during a root touch-up.
The method should match the color you are maintaining. Henna alone is used for warmer copper and red tones, while henna and indigo are used when deeper brown or black results are the goal.
Is root touch-up good for your hair?
A root touch-up is mainly a color-maintenance method. Applying color only to new growth allows you to avoid unnecessarily reapplying it throughout hair that already has the desired color.
With a natural root touch-up, the focus should be on careful application, following the directions for your chosen henna, and maintaining the color method that already works for your hair.
What is the best way to touch up roots at home?
Start with clean hair, separate the new growth into manageable sections, and keep the rest of the hair out of the way. Apply enough henna paste to fully coat each section of new growth, paying close attention to the hairline, temples, and part.
For a more consistent root touch-up henna routine, use the same mixture, application method, and processing approach that has worked well for your existing color.
How often should you touch-up roots?
Touch up your roots when the new growth becomes noticeable enough that you want to refresh it. The timing varies depending on your hair growth, your natural starting shade, and how much contrast there is between the roots and your existing color.
Instead of following a fixed schedule, use the appearance of your new growth as your guide. A consistent henna hair color root touch-up routine can then be adjusted based on how quickly your roots become visible.


